

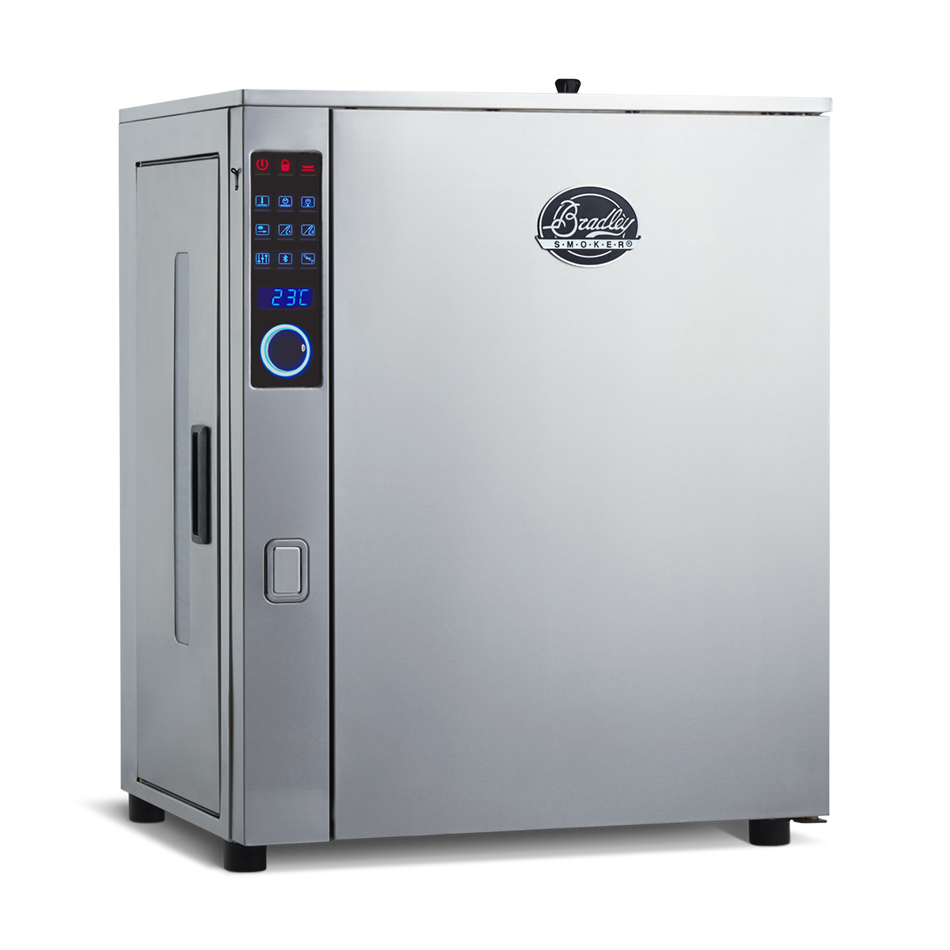
Welcome to the Bradley Family! Unboxing a shiny new smoker is pure excitement, and we know you’re itching to get that very first rack of ribs or brisket going. Before you fire up your first big cook, though, there’s one quick, essential step: seasoning your smoker. Think of it as breaking in a trusty cast-iron skillet: it burns off factory oils, seals the interior, and sets you up for years of incredible wood-fired flavor.

Why Season Your Smoker First?
-
Eliminate Residues: Burns off manufacturing oils, smells, and dust left over from production.
-
Build a Flavorful Patina: Coats the stainless steel interior walls with a rich resin layer that locks in authentic smoke flavor.
Step-by-Step Seasoning Guide
1. Clean & Prep:
- Remove all protective plastic and packaging.
- Wipe down the interior walls with a damp cloth.
- Wash the wire racks, drip tray, and water and render bowls with warm, soapy water to remove factory dust.
- Dry completely and place the wire racks, drip tray and bowls back inside the cabinet.
2. Fill the Water Bowl: Fill the metal bowl half full with water and position it directly under the bisquette dispenser to extinguish spent wood. Rule #1: Never run your smoke generator without water in the bowl to extinguish spent bisquettes!
3. Adjust the Vent: Open the top damper vent halfway to maintain steady airflow.
4. Load Bisquettes: Add 6 Bradley Bisquettes to the feed tube (any flavor you have on hand works fine).

5. Program the Controller: Set the smoker to 150º F (66°C) and oven time to 2 hours. Set the smoke time to 2 hours
6. Cool & Clear: Once the timer goes off, let the unit cool completely, then safely discard the water and spent bisquettes.


