

Maple glazed smoked Cheddar!
I love smoked cheddar…I mean I *really* love it. The problem with buying it is that it can be hit or miss…sometimes it’s great, sometimes it’s not, although always pricey!
The thing with smoking cheese is that it can turn out the same way….sometimes great, sometimes not, and because there are so many variables involved, it can require a lot of trial and error, before you hit that winning recipe.

The End Result of Three Years of Experimenting
What I am going to lay out here is the exact method and ingredients I use to make my cheddar. Is it the best smoked cheddar in the world? You’ll have to tell me!
What it *is* however, is the end result of three years of experimenting, tweaking and trial and error (and some truly terrible cheese in the process!).
It’s All About the Cheese
I’ve found that most commercial packaged cheeses are ‘OK’ in the smoker, but rarely are they great. They tend to be a bit oily and prone to sweating, even at lower temperatures.
I did, however, manage to find a cheese that smokes exceptionally well: Armstrong Old Cheddar. The Armstrong cheddar is a bit drier than any of the other commercial cheeses I’ve tried, has a series of small crevices and pockets on its surface to hold yummy smoke and glaze, and is a *perfect* shape for smoking.
In addition, they are 2”x2”x7 ½” instead of the more common 1”x4” and, as an added bonus, Armstrong is made in Canada.

How to Glaze the Cheese
So we’ve got the cheese….now about that glaze. I glaze my cheese with a light brushing of pure maple syrup before smoking.
The hint of sweet maple flavour balances really well with the richness of the smoke and the sharp edge of the cheese. Moreover, the syrup helps keep the cheese moist, besides giving the smoke a better surface to stick to, while not impeding the penetration of flavour into the block.
The method
(Note: I always smoke my cheese when the outdoor temperatures are between -5 and -10 degrees Celsius, for the best results)
1. Remove the plastic from the cheese, stand the block(s) on end and place it into the freezer for an hour. This won’t freeze the cheese, but does cool it to optimum smoking temperature, while drying the outside skin of the cheese.
2. Remove the cheese from the freezer, and brush lightly with maple syrup, using a silicone basting brush. You don’t want to soak the cheese with the syrup, just a light skim. Arrange on racks.

3. Load a couple hours of apple pucks into the smoker, start it up and fill the puck catch bowl with ice cubes.
4. Load your rack(s) as high in the smoker as possible, and open the vents ½ way. Open more if the temp is above -5 or close them more if it’s colder than -10.

5. Smoke your cheese for two hours, opening the door briefly every 30 minutes to rotate the cheese ¼ turn. While you will lose some smoke doing this, it ensures the cheese is evenly smoked, helps keep temperatures in check, and also allows any humidity to escape the smoker box. Don’t worry though, the smoke recovers quickly.
6. When the 2 hours is up, open the door and leave the cheese in the smoker for 15 min to chill.
7. Bring the cheese into the house, and tightly wrap with plastic wrap. Then insert the wrapped cheese into a Ziploc bag and place in the back of your refrigerator for a minimum of two weeks…a month is better. Of course you may be tempted to try your cheese right away, but trust me on this: Don’t do it! The cheese will be extremely bitter until it’s had a chance to age/the flavours are allowed to penetrate.
Be Patient and Don’t Mess up Your Cheese
However, if you can’t resist and absolutely HAVE to know what the cheese tastes like right away, go back out to your smoker, open the door and give the inside of the door a good lick….it’ll taste exactly the same, but you won’t mess up the cheese this way.
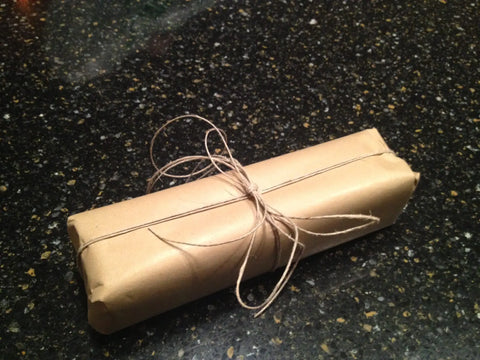
That’s it! You’ve followed my recipe, been patient, and are ready to sample your creation. Enjoy it on its own, as an amazing addition to burgers or pizza, or take that extra block and wrap it up for a good friend.
Cheers,
Ryan Shervill
www.RyanShervill.com


