Step up your food smoking game by setting up your very first Bradley Smoker. Experience our specialized technology. Our smoking method offers extra versatility and control which results in precise cooking and a consistent smoke flavor. Bradley Smokers will allow you to cook outdoors, and it is a lot more convenient than traditional smokers. Read the article and watch the video on setting up your Bradley Smoker: tips & tricks to start like a pro!
In this video we will be showing you how to set up a Bradley smoker.
So let’s take a look at what’s included in the box:
- A drip bowl for catching the bisquettes
- A tray to protect the base of the unit
- A drip tray to funnel all of those delicious juices
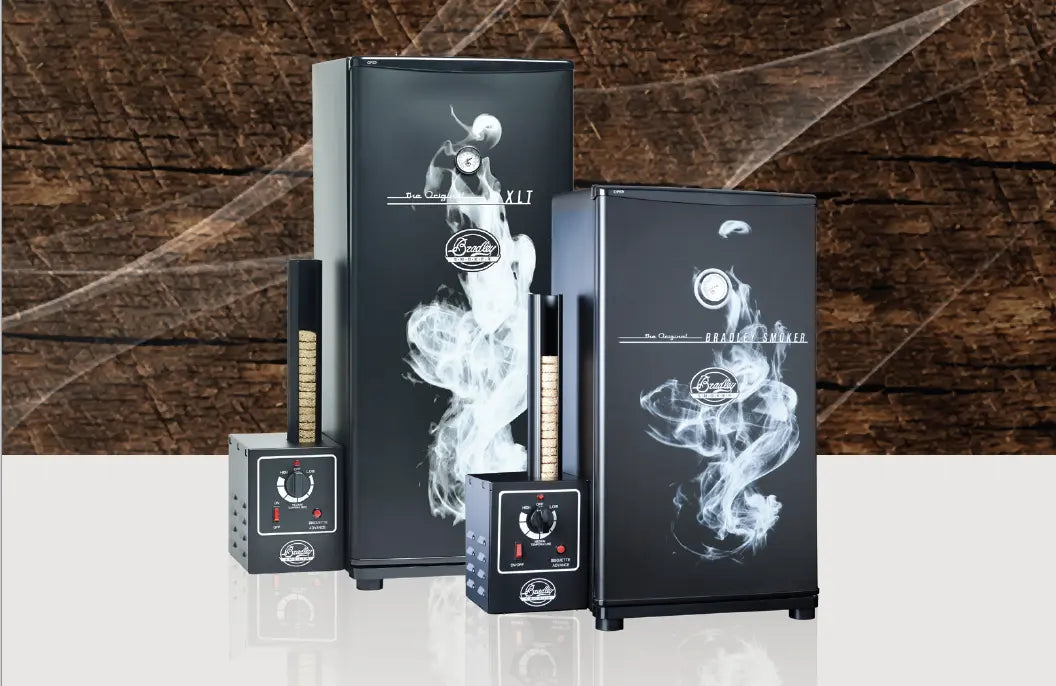
- The smoke tower
- digital smoke generator
- sensor cable and power cords
- 4 or 6 cooking racks depending on the model you choose
- The Owner’s Manual
- handy Recipe Booklet
- main power cord
- Can hot and cold-smoke as well as roast and dry foods
- 1-year warranty from date of purchase
Time to start putting all of this together!
Opening the insulated door shows all of the space this unit has. We have the heating element as well as room for 6 cooking racks, the drip tray and everything else.
As you can see on the left hand side of the unit, we have the space for the digital smoke generator. Simply slide the digital smoke generator in to the side of the unit and rest on the hooks provided.
Pro Tip: If you are unsure of any instructions listed here, please read the Bradley Smoker manual included with your kit or better yet, send us a quick email at Support@BradleySmoker.com
The Smoke Tower
It’s as easy as putting it straight in the hole on top of the digital smoke generator and then pushing it down firmly. Next up, plug the sensor cable in to the back of the digital smoke generator and in to the back of the unit. Follow that up with the short power cable to run from the digital smoke generator to the back of the unit. And most importantly the power cord to go straight from the back of the digital smoke generator to your power point.
Pro tip: when placing the bisquette tube on the smoke generator, never push it all the way to the end, leave a couple of inches space from the end, so the bisquette advancing system is never blocked.
Feed the Smoking Racks
Next up we feed the cooking racks on to each of the shelves provided. Depending on which model of Bradley smoker you have, you may either have 4 or 6 cooking racks. In the video’s case, he has the 6 rack digital smoker from Bradley. Just imagine everything you could cook in that!
Slide the drip tray in next, along with the rectangular tray to protect the base of the unit and lastly the drip bowl to catch the bisquettes and those delicious juices.
Bradley have kept set up of this unit very, very simple. Taking only 5-10 minutes to set up, you’ll be cooking in no time!
Clean Your Smoker Regularly!
Please remember to clean your Bradley smoker regularly. Grease and oil can build up inside of your smoker. You can easily clean it by using a water and vinegar solution. Do not use harsh chemicals as it can be harmful to your smoker.
In Conclusion
With a bit of knowledge and experience under your belt of how to set up your first Bradley Smoker, you should now be equipped to experiment with new flavours and recipes! And there you have it, how to setting up your Bradley Smoker: tips & tricks to start like a pro!
Check out our wide assortment of tips & tricks on our blog!
Happy Smoking!